4.1. Setting up a Python workspace
This section demonstrates step-by-step how to install Python libraries, software, and tools; i.e. setting up a workspace for coding; on WinOS to write Python codes and process tomographic data. There are many ways to set up a Python workspace. However, we only show approaches which are easy-to-follow and less troublesome for beginners.
1. Install Conda, a package manager, to install Python libraries
Download Miniconda from here and install it. After that, run Anaconda Powershell Prompt. This Powershell is a command-line interface where users can run commands to install/manage Python environments and packages.
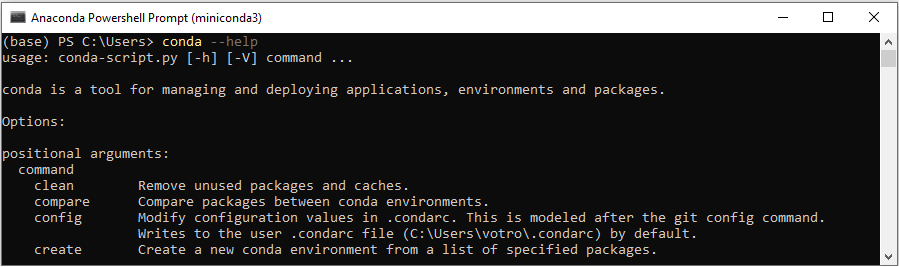
There is a list of commands in Conda, but we just need a few of them. The first command is to create a new environment. An environment is a collection of Python packages. We should create different environments for different usages (such as to process tomographic data, write sphinx documentation, or develop a specific Python software…) to avoid the conflict between Python libraries. The following command will create an environment named myspace
conda create -n myspaceThen we must activate this environment before installing Python packages into it.
conda activate myspaceName of the activated environment with be shown in the command line as below

First things first, we install Python. Here we specify Python 3.11 (or 3.12), not the latest one, as the Python ecosystem taking time to keep up.
conda install python=3.11Then we install tomographic packages. A Python package can be distributed through its own channel, the conda-forge channel (a huge collection of Python packages), Pypi, or users can download the source codes and install themselves using setup.py. The order of priority should be: conda-forge, own channel, Pypi, then source codes. Let install the Algotom package first using the instruction shown on its documentation page.
conda install -c conda-forge algotomBecause Algotom relies on dependencies, e.g. Numpy, Numba, Scipy, H5py,… they are also installed at the same time. The Python environment and its packages are at C:/Users/user_ID/miniconda3/envs/myspace. Other conda commands are often used:
conda list : list packages installed in an activated environment.
conda uninstall <package> : to uninstall a package.
conda deactivate : to deactivate a current environment
conda remove -n myspace –all : delete an environment.
conda info -e : list environments created.
2. Install tomography-related, image-processing packages
There are a few of tomography packages which users should install along with Algotom: Astra Toolbox and Tomopy
conda install -c astra-toolbox astra-toolbox

conda install -c conda-forge tomopy
For packages using Nvidia GPUs, making sure to install the CUDA toolkit as well. A popular visualization package, Matplotlib, is important to check or save results of a workflow.
conda install -c conda-forge matplotlibIf users need to calculate distortion coefficients of a lens-based detector of a tomography system, using Discorpy
conda install -c conda-forge discorpy
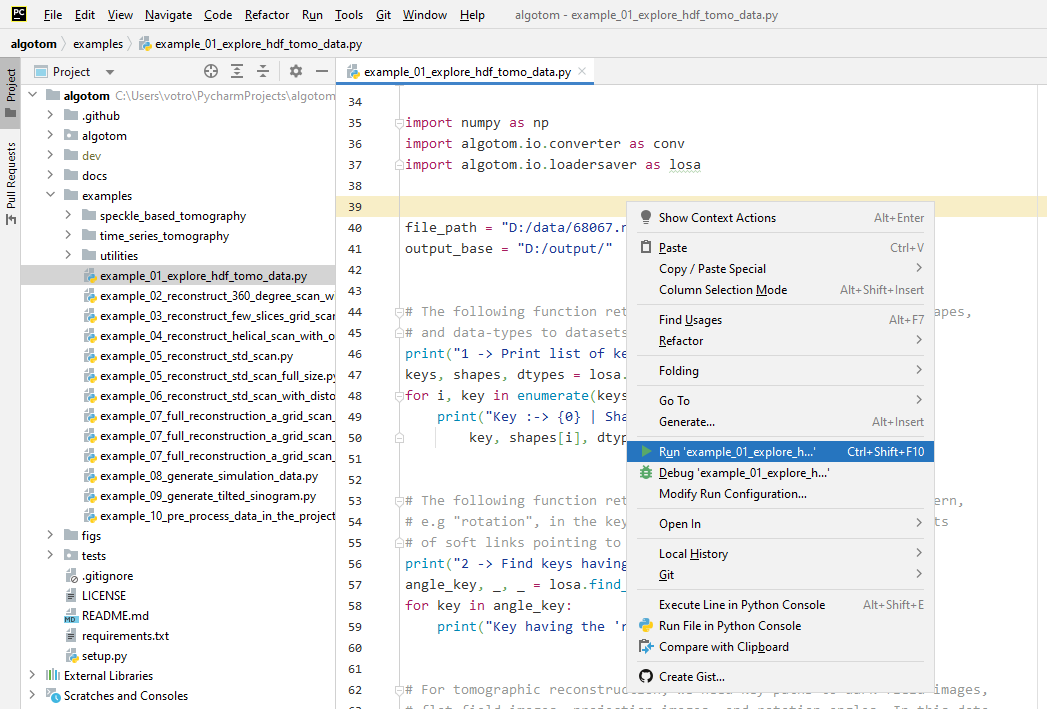
3. Install Pycharm for writing and debugging Python codes
Pycharm is one of the most favorite IDE software for Python programming. It has many features which make it easy for coding such as syntax highlight, auto-completion, auto-format, auto-suggestion, typo check, version control, or change history. Pycharm (Community edition) is free software. After installing, users needs to configure the Python interpreter (File->Settings->Project->Python interpreter-> Add ->Conda environment) pointing to the created conda environment, C:/Users/user_ID/miniconda3/envs/myspace, as demonstrated in section 1.1. It’s very easy to create a python file, write codes, and run them as shown below.
4. Write and run codes interactively using Jupyter Notebook (optional)
Using Python scripts is efficient and practical for processing multiple datasets. However, if users want to work with data interactively to define a workflow, Jupyter Notebook is a good choice.
Install Jupyter in the activated environment
conda install -c conda-forge jupyterRun the following command to enable the current environment in notebook (only need for the first time setup). Note to change the name of the environment if users use a different name.
ipython kernel install --user --name="myspace"Then run Jupyter notebook by
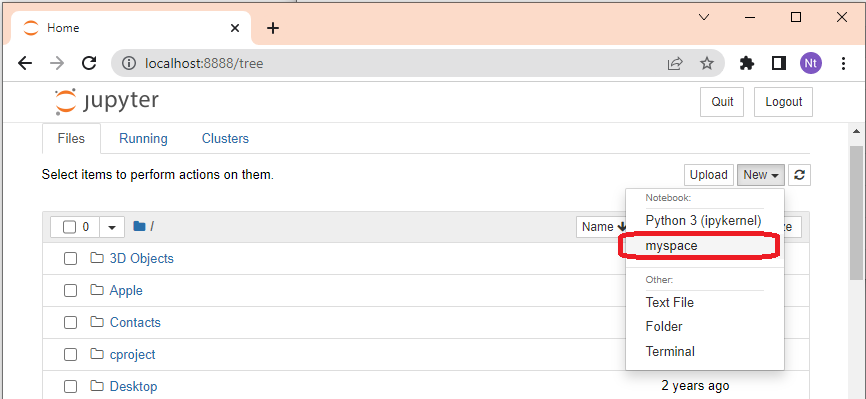
jupyter notebookSelect the kernel as shown below
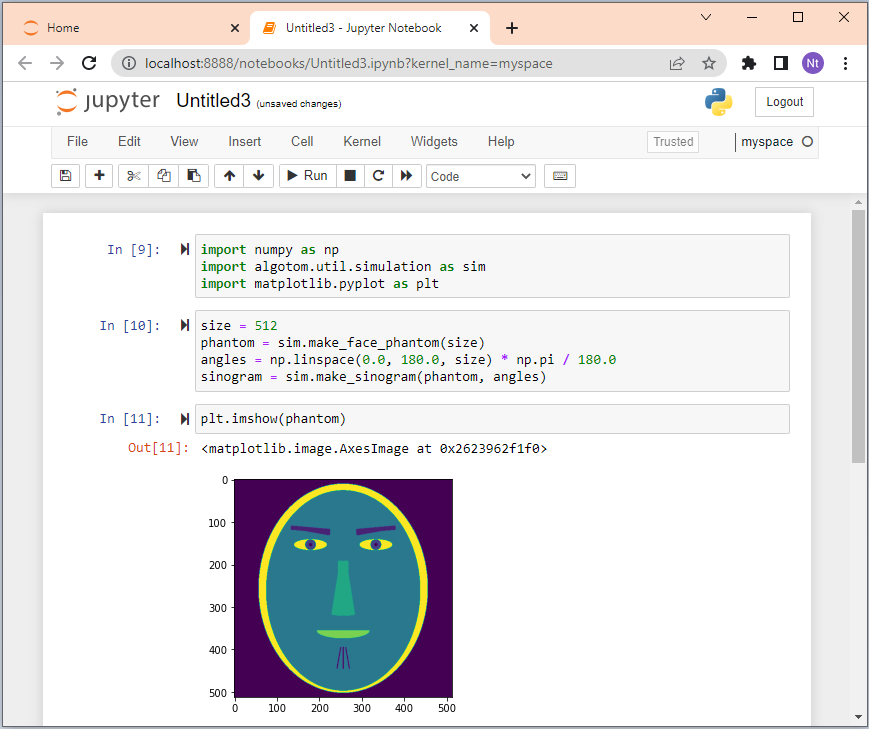
It will create a new tab for inputting codes
Note that the working folder (drive) of the notebook is where we run the command jupyter notebook from. If users want to work at a different drive, e.g. D:, they must navigate to that drive before running the notebook. (FYI, Press Ctrl+C to terminate a current running notebook from the Powershell Prompt)
cd D:
jupyter notebook
For who would like to use JupyterLab instead of Jupyter Notebook
Similar as above but for JupyterLab
conda install -c conda-forge jupyterlabRun the following command only for the first time setup. Note to change the name of the environment if users use a different name.
ipython kernel install --user --name="myspace"Then run JupyterLab by
jupyter lab